
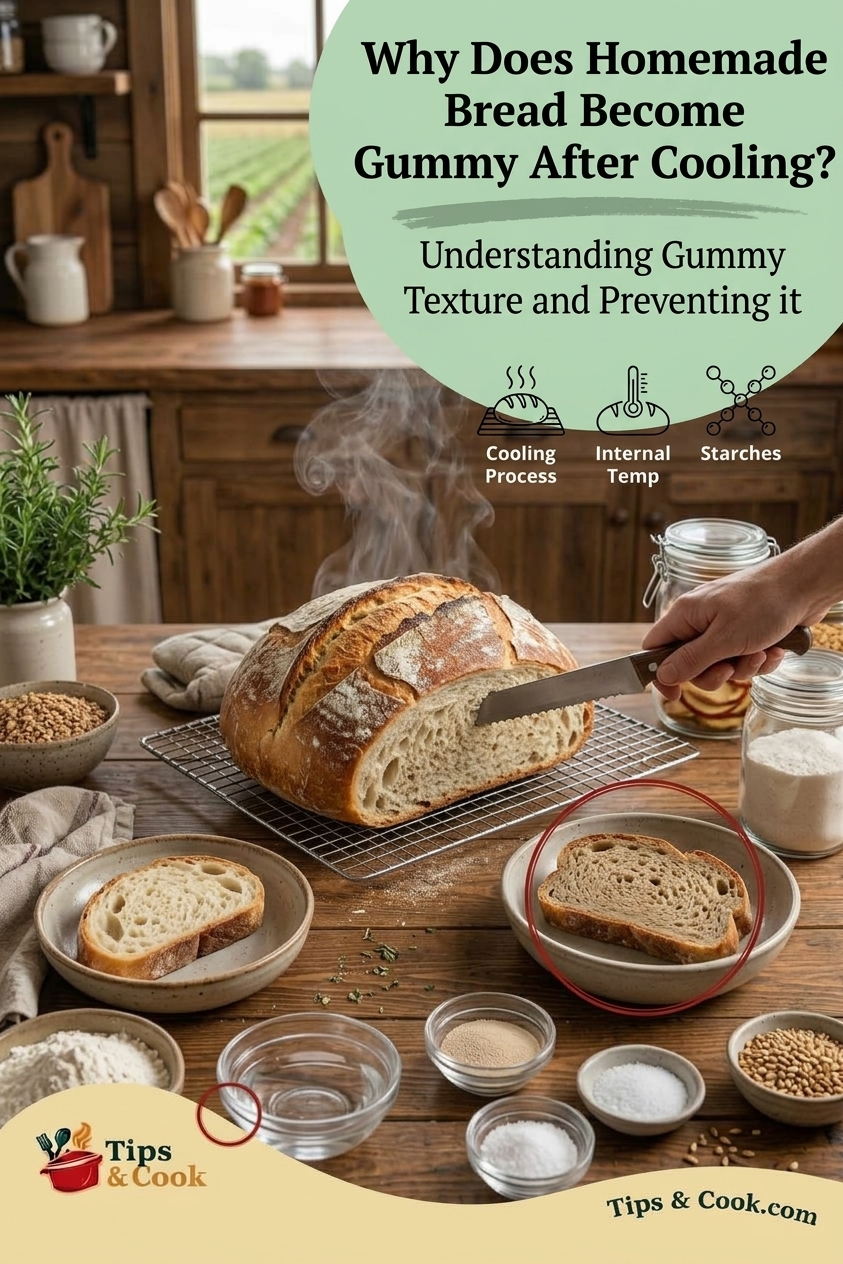
Why Homemade Bread Becomes Gummy?
Homemade bread can look perfectly baked on the outside but develop a sticky, dense, or gummy texture inside after cooling. If you have wondered why homemade bread is gummy inside, the problem often comes down to underbaking, excess moisture, an unsuitable flour-to-water ratio, or cutting the loaf before it has cooled completely.
The good news is that most gummy bread problems are preventable. By checking your baking temperature, adjusting your dough-handling techniques, and allowing enough cooling time, you can achieve a lighter crumb with a more even texture.
1. The Bread Was Not Baked Long Enough
One of the most common reasons homemade bread becomes gummy is underbaking. The crust may turn golden brown before the center has finished setting, especially when baking a large loaf.
During baking, heat transforms the dough’s starches and sets the crumb structure. If the center does not receive enough heat, the inside may remain wet and sticky even after the loaf cools.
How to fix it:
- Follow the baking time and temperature recommended by your recipe.
- Check the center of the loaf with an instant-read thermometer.
- For many lean wheat breads, an internal temperature around 190–210°F (88–99°C) is a useful reference, depending on the recipe and loaf style.
- If the crust browns too quickly, tent the loaf loosely with foil and continue baking until the center is done.
Avoid relying on crust color alone. A deeply browned exterior does not always mean the interior is fully baked.
2. You Cut the Bread Before It Cooled
Freshly baked bread continues to release steam as it cools. Cutting into the loaf too early allows moisture to escape unevenly and can compress the delicate crumb, making the slices seem sticky or gummy.
This is especially noticeable in large sourdough loaves and moist, enriched breads.
How to fix it:
Transfer the bread to a wire rack after removing it from the oven. Let it cool until the center has had enough time to set before slicing.
Small rolls may cool relatively quickly, while large artisan loaves can need several hours. The appropriate cooling time depends on the loaf’s size and composition.
Although warm bread is tempting, waiting usually produces cleaner slices and a better texture.
3. The Dough Contains Too Much Water
High-hydration doughs contain more water relative to flour. This is intentional in many sourdough and artisan bread recipes, but excess water can create a gummy crumb if the dough is not developed and baked appropriately.
Measuring flour inaccurately can also change the dough’s hydration. Scooping flour directly from a bag may pack more flour into a measuring cup than expected, producing inconsistent results between batches.
How to fix it:
- Weigh flour and water using a kitchen scale when possible.
- Follow the recipe’s hydration ratio rather than adding extra water automatically.
- Use flour suitable for the recipe.
- Allow sufficient mixing, folding, or kneading to develop the dough structure.
- Avoid adding large amounts of flour during shaping unless the dough genuinely needs it.
Remember that sticky dough is not always faulty. Some bread styles are naturally wet and require specific handling techniques.
4. The Flour Is Not Suitable for the Recipe
Different flours absorb water differently and develop different structures. Bread flour generally contains more protein than many all-purpose flours, helping develop the gluten network that supports a loaf.
Replacing bread flour with another flour without adjusting the recipe may change the texture. Whole-wheat flour, rye flour, and some gluten-free blends also behave differently from standard white bread flour.
How to fix it:
Use the flour recommended by your recipe, especially when making sourdough or high-hydration bread. If you substitute flour, expect that the amount of water or mixing time may need adjustment.
For whole-grain breads, follow a recipe designed for those grains instead of applying the same water ratio used for white bread.
5. The Dough Was Underproofed or Overproofed
Proofing allows yeast or a sourdough starter to produce gas, while fermentation also changes the dough’s structure and flavor.
Underproofed dough may produce a dense loaf with a tight crumb. Overproofed dough can lose structural strength and collapse during baking. Either situation may contribute to a poor texture, although a gummy center is not always caused by proofing alone.
How to fix it:
Pay attention to how the dough looks and feels rather than relying only on the clock.
- Allow the dough to rise according to the recipe.
- Look for the expected increase in volume.
- Check whether the dough responds appropriately to a gentle finger press when using that test for your bread style.
- Avoid letting the dough rise so far that it loses strength or collapses.
Room temperature, yeast activity, flour type, and dough hydration all affect proofing time.
6. The Oven Temperature Is Incorrect
An oven that runs cooler than its displayed setting can leave the bread underbaked. An oven that is too hot may brown the crust before the center has finished cooking.
This can happen even when you follow a recipe precisely.
How to fix it:
Preheat the oven fully before baking. If you frequently experience underbaked centers or overly dark crusts, check the oven’s accuracy with an oven thermometer.
Use the temperature recommended for your particular recipe. Avoid increasing the heat simply to brown the crust faster.
For recipes that require steam or a covered baking vessel, follow those instructions carefully because they affect crust development and heat transfer.
7. You Stored the Bread While It Was Still Warm
Putting warm bread into a sealed plastic bag or airtight container traps escaping steam. The moisture can condense inside the packaging and soften the crust, sometimes making the bread feel damp.
This is different from a genuinely underbaked crumb, but it can make an otherwise well-baked loaf seem unpleasantly moist.
How to fix it:
Cool the loaf completely on a wire rack before wrapping or storing it. Choose packaging appropriate for the bread style and the length of storage.
For short-term storage, a suitable bread bag or bread box can help preserve texture. For longer storage, slice and freeze the cooled loaf in a well-sealed freezer bag.
Avoid refrigerating most homemade breads unless there is a specific reason to do so, because refrigeration can accelerate staling.
Can You Fix Bread That Is Already Gummy?
Sometimes. First, identify whether the loaf is merely moist or actually underbaked.
If the bread is still warm, allow it to cool fully before judging its texture. If the center remains wet and dough-like, return the loaf to a moderate oven and bake it longer, checking the center carefully. This works best when the bread has not already cooled completely.
If the loaf is fully cooled but only slightly damp, toasting individual slices may improve the eating texture. However, toasting will not reliably correct a severely underbaked center.
If the bread has an unusual smell, visible mold, or signs of spoilage, discard it rather than attempting to fix it.
How to Prevent Gummy Homemade Bread Next Time
Use this quick checklist before your next bake:
- Measure flour and water accurately.
- Follow the recipe’s recommended flour and hydration.
- Develop the dough properly through mixing, kneading, or folding.
- Give the dough enough time to proof without allowing it to collapse.
- Preheat the oven and verify its temperature if necessary.
- Check doneness at the center rather than judging by crust color alone.
- Cool the loaf on a wire rack before slicing or storing.
Keeping brief notes about your ingredients, dough hydration, proofing time, oven temperature, and cooling time can help you identify what changes produce the best results.
Conclusion
Homemade bread becomes gummy after cooling most often because the center was underbaked, the dough contained too much moisture for the method, or the loaf was sliced or stored before cooling properly. Proofing, flour selection, and oven accuracy can also influence the final texture.
Start by checking the internal temperature and cooling process before changing your entire recipe. Small, measured adjustments are usually more useful than adding extra flour or increasing the oven temperature without identifying the cause.
With accurate measurements, proper baking, and sufficient cooling time, you can make homemade bread with a more consistent crumb and a texture that is easier to slice and enjoy.
Explore More..